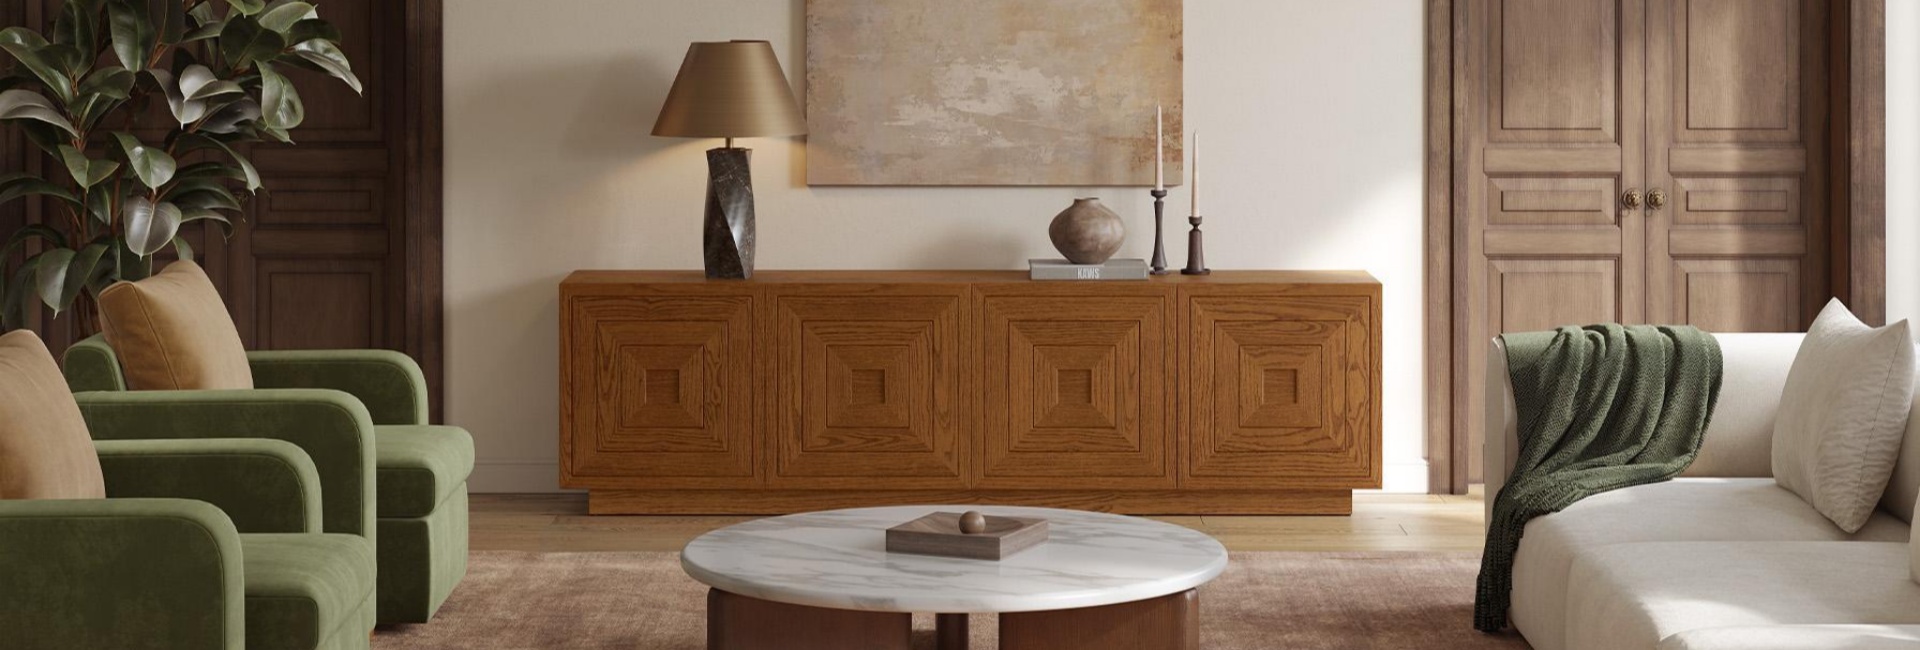
A wood media console can develop scratches from moving electronics, decorative objects, dust, and everyday use. Even small marks can stand out against a smooth or dark finish, especially when light hits the surface.
The right way to fix scratches on a wood media console depends on how deep the damage is and what material sits underneath the finish. Light scuffs may respond to furniture polish, while deeper marks may need a repair marker or filler. Wood veneer, solid wood, and lacquered surfaces also require different approaches. Identifying the damage before applying any repair product helps avoid making the mark worse.
Table of Contents
- Can You Fix Scratches on a Wood Media Console?
- How to Identify Different Types of Scratches on a Media Console
- What You Need to Repair Scratches on a Wood Media Console
- How to Remove Light Scratches from a Wood Media Console
- How to Repair Deep Scratches and Gouges
- How to Repair Scratches on Different Wood Media Console Materials
- How to Prevent Scratches on Your Media Console
- Wood Media Console Materials and Designs: What to Consider for Maintenance
- Final Thoughts
- FAQs
- Does the walnut trick actually work on a wood media console?
- How do I tell a finish scratch from a scratch in the wood?
- Are wood repair markers safe on veneer?
- Can I use olive oil to get scratches out of a wood TV stand?
- What fills a deep gouge better, a wax stick or wood filler?
- How do I match the stain color for a scratch repair?
- Can scratches be removed from a lacquered media console?
- When should I call a professional instead of repairing it myself?
- Can I remove scratches from a dark wood media console without refinishing it?
Can You Fix Scratches on a Wood Media Console?
Yes, many minor scratches on a wood media console can be made less noticeable with the right repair product. Use compatible furniture polish for light surface scuffs, a color-matched repair marker for small finish scratches, and wax filler for shallow grooves. Deeper gouges may require wood filler on suitable solid wood surfaces. Always identify the console's material and existing finish before starting, as thin veneer and lacquered surfaces can be damaged by aggressive sanding or incompatible repair products.
How to Identify Different Types of Scratches on a Media Console
Before choosing a repair product, determine whether the scratch affects only the surface finish or reaches the wood underneath. Look at the mark under good lighting and gently run a fingernail across it. The depth, color, and texture can help you decide which repair method is appropriate.
Light Surface Scratches
Light surface scratches affect the appearance of the finish without cutting through it. They often look like dull lines or cloudy patches, and your fingernail usually glides over them without catching.
Dusting with a rough cloth, moving picture frames, and sliding small decorative objects can create these marks. Because the finish remains intact, cleaning and using a compatible furniture polish or scratch remover may improve their appearance.
Finish-Level Scratches
A finish-level scratch cuts into the protective coating, such as lacquer or polyurethane, but does not necessarily reach the stained wood. It may appear as a pale or slightly discolored line, and your fingernail may catch lightly along the damaged area.
These scratches are more noticeable than surface scuffs because the finish has been disturbed. A color-matched repair marker may help conceal a small mark, although the result depends on the finish and the depth of the damage.
Deep Scratches and Gouges
Deep scratches pass through the finish and may expose the wood underneath. They often appear lighter than the surrounding surface, particularly when the original stain is dark. A fingernail will usually catch on the groove, and some damage may include raised or missing wood fibers.
Small scratches may be improved with a suitable filler or wax repair product. Wider gouges on solid wood may require filling, color matching, and a compatible protective finish.
How to Tell Scratches from Wax Buildup
Not every mark on a wood media console is a scratch. Old furniture wax, polish residue, and accumulated dirt can create dull or uneven lines that resemble surface damage.
Check whether the area feels sticky or slightly raised. If so, it may be residue rather than a scratch. Start with a soft cloth and a cleaner approved for the furniture's finish. Avoid using solvents to test the area unless the manufacturer confirms they are suitable.
What You Need to Repair Scratches on a Wood Media Console
You do not need every repair product for every scratch. Choose supplies according to the damage and the console's material. For a minor surface mark, a microfiber cloth and suitable polish may be enough. Deeper damage requires additional products.
Microfiber Cloth and Furniture Cleaner
A clean microfiber cloth helps remove dust, fingerprints, and surface residue before repairs. Use a slightly damp cloth for routine cleaning, then dry the area with another soft cloth.
For stubborn buildup, choose a furniture cleaner compatible with the existing finish. Avoid abrasive pads, ammonia-based cleaners, and harsh household chemicals unless the furniture manufacturer specifically recommends them.
Wood Repair Markers and Scratch Removers
Wood repair markers contain colorants that help conceal pale scratches and small areas of color loss. They are available in different wood tones, including oak, walnut, and espresso.
Scratch removers and furniture polishes serve a different purpose. They may improve the appearance of minor surface scuffs by cleaning or conditioning the finish. Check the product instructions to make sure it is suitable for your console's coating.
Wax Filler Sticks and Wood Filler
Wax filler sticks are useful for small grooves and shallow scratches. They fill minor gaps with color-matched material and can often be adjusted or removed according to the manufacturer's instructions.
Stainable wood filler is intended for deeper damage where wood material is missing. It is generally more suitable for solid wood surfaces that can tolerate the required preparation and finishing steps. Check whether the filler is compatible with the intended stain and topcoat.
Matching Stains and Protective Finishes
For deeper repairs, you may need a matching wood stain, touch-up pen, or clear protective coating. Choose a product that is compatible with the existing finish and matches its sheen.
A plastic scraper or putty knife can help remove excess filler without scratching the surrounding surface. Fine sandpaper may be appropriate for certain solid wood repairs, but it should not be used on thin veneer without specific manufacturer guidance.
How to Remove Light Scratches from a Wood Media Console
Light surface scratches can often be improved without sanding or filling. The key is to clean a wood TV stand first and use a product suitable for its finish.
Step 1: Clean the Scratched Surface
Remove dust and loose debris with a soft microfiber cloth. If needed, use a slightly damp cloth and allow the surface to dry completely.
Do not rub the scratch aggressively. Dirt trapped under the cloth can create additional fine marks, particularly on glossy finishes.
Different furniture finishes can react differently to cleaning products, so the Canadian Conservation Institute recommends identifying the finish and checking its condition before cleaning.
Step 2: Test the Repair Product
Test the selected polish, scratch remover, or repair marker on an inconspicuous area, such as the back edge or an interior section.
Check the color and sheen after the product dries. A marker that looks similar when wet may become darker or more noticeable once it has dried.
Step 3: Apply a Scratch Remover or Repair Marker
For a dull surface scuff, apply a small amount of compatible furniture polish or scratch remover with a soft cloth. Follow the product instructions and work gently.
For a pale scratch where the finish color has been disturbed, use a matching repair marker. Apply it carefully along the damaged line rather than coloring the entire surrounding area.
Start with a light application. Add another layer only if the first one dries too light.
Step 4: Remove Excess Product and Check the Result
Use a clean, lint-free cloth to remove excess product according to the manufacturer's instructions. Avoid spreading marker pigment across the undamaged finish.
Allow the repair to dry fully before evaluating the color. If the mark remains noticeable, consider whether it is deeper than a surface scratch rather than repeatedly applying more product.
How to Repair Deep Scratches and Gouges
Deep scratches require more preparation because the damage may extend beyond the protective coating. The appropriate repair depends on whether the console is solid wood, veneer, or another material.
Step 1: Prepare the Damaged Area
Clean the damaged area with a suitable furniture cleaner and allow it to dry. Remove loose debris and any raised wood fibers carefully.
Do not automatically use steel wool or sandpaper to level every scratch. Abrasive materials can damage thin veneer and certain factory finishes. Only sand a surface when the material and repair instructions allow it.
Step 2: Fill the Scratch with Wax or Wood Filler
For narrow scratches and small cosmetic gaps, a color-matched wax filler stick may be sufficient. Press the wax into the damaged area and remove excess material with a plastic scraper, following the product instructions.
For wider gouges with missing wood fibers, stainable wood filler may be appropriate on solid wood. Apply it with a small putty knife, allow it to dry fully, and prepare the surface according to the filler manufacturer's directions.
Avoid using ordinary wood filler on thin veneer if the repair requires sanding that could expose the underlying substrate.
Step 3: Match the Wood Color and Grain
After filling, the repaired area may look different from the surrounding wood. A stain pen or compatible touch-up product can help restore the color.
Test the color on a hidden area first. Start with a lighter shade and add darker tones gradually if needed. For wood with visible grain variations, a single flat color may be more noticeable than a layered repair.
Allow each application to dry before adding another. The final color should be judged under normal room lighting rather than immediately after application.
Step 4: Restore the Surface Finish
Some repairs need a protective topcoat, while others do not. Follow the instructions for the specific filler, stain, or repair product.
For stainable wood filler on solid wood, apply a compatible clear finish after the repair has dried and the color has been matched. Choose a sheen similar to the surrounding surface, such as matte, satin, or gloss.
Do not automatically apply lacquer or polyurethane over wax filler or repair markers. These materials may not bond properly, so check product compatibility before adding another coating.
When to Seek Professional Repair
Some damage is better handled by a furniture restoration professional. Consider professional help when:
-
The console is a valuable antique or heirloom.
-
A large section of the finish has been damaged.
-
The veneer is chipped, peeling, or exposed through to the substrate.
-
Previous repair attempts have left uneven layers of paint, wax, or finish.
-
You cannot identify the existing coating or determine which repair products are compatible.
A professional can assess the material and finish before choosing a repair method, reducing the risk of additional damage.
How to Repair Scratches on Different Wood Media Console Materials
The same repair product does not work equally well on every surface. Solid wood, veneer, painted finishes, and lacquer each have different characteristics that affect how scratches should be treated.
Solid Wood Media Consoles
Solid wood provides more repair options because the material extends through the thickness of the component. Depending on the finish and damage, small scratches may be treated with touch-up products, while deeper gouges may be filled and refinished.
However, solid wood does not mean every repair is simple. The factory coating still determines which cleaners, stains, and protective finishes are suitable. Test products in a hidden area before working on visible surfaces.
Wood Veneer Media Consoles
Wood veneer consists of a thin layer of real wood applied over an engineered wood or other substrate. Its thickness varies by product, so aggressive sanding can expose the material underneath.
For minor veneer scratches, consider a compatible repair marker or wax filler. Avoid sanding or using abrasive pads to level the surface unless the manufacturer specifically allows it.
If the veneer is chipped, peeling, or deeply gouged, a professional repair may be more appropriate than a DIY filling process.
The Timber Veneer Association of Australia advises against abrasive cleaning on veneered surfaces, as it can scratch the clear coating and reduce its appearance. This is another reason to use a soft cloth rather than abrasive pads when caring for wood veneer.
Painted and Lacquered Media Consoles
Painted surfaces usually require a matching touch-up paint or repair product. Apply it carefully to the damaged area and allow it to dry according to the manufacturer's instructions.
Lacquered surfaces need particular care. Glossy lacquer can show small differences in color and sheen, while certain solvents may soften or dull the coating.
For minor damage, use a touch-up product specifically designed for the finish. Extensive scratches or damage on high-gloss lacquer may require professional refinishing.
How to Prevent Scratches on Your Media Console
Regular care can reduce everyday wear and help maintain the appearance of a wood media console. A few simple habits can also prevent minor marks from developing into deeper damage.
Use Felt Pads Under Decorative Items
Place felt pads under picture frames, lamps, speakers, and other objects that sit directly on the console. They help reduce friction when items are moved across the surface.
Check the pads regularly and replace them when they become compressed or collect dust and grit.
Avoid Dragging Electronics Across the Surface
Lift speakers, gaming consoles, and other electronics when repositioning them. Hard plastic feet and rough edges can scratch the finish if they are dragged across the wood.
If an item is too heavy to lift easily, place a protective mat underneath it before moving it.
Clean with Soft Microfiber Cloths
Use a clean microfiber cloth to remove dust and fingerprints. A slightly damp cloth can help pick up fine particles without pushing them across the surface.
Avoid rough paper towels, abrasive sponges, and dry cloths that have collected grit. Use furniture cleaners that are suitable for the console's finish.
Protect the Surface from Everyday Wear
Use coasters for drinks and trays under plants or decorative objects that may leave moisture on the wood. Keep sharp accessories and heavy items from coming into direct contact with the surface.
If you have pets, placing objects away from frequently used walking or resting areas can also help reduce accidental scratches.
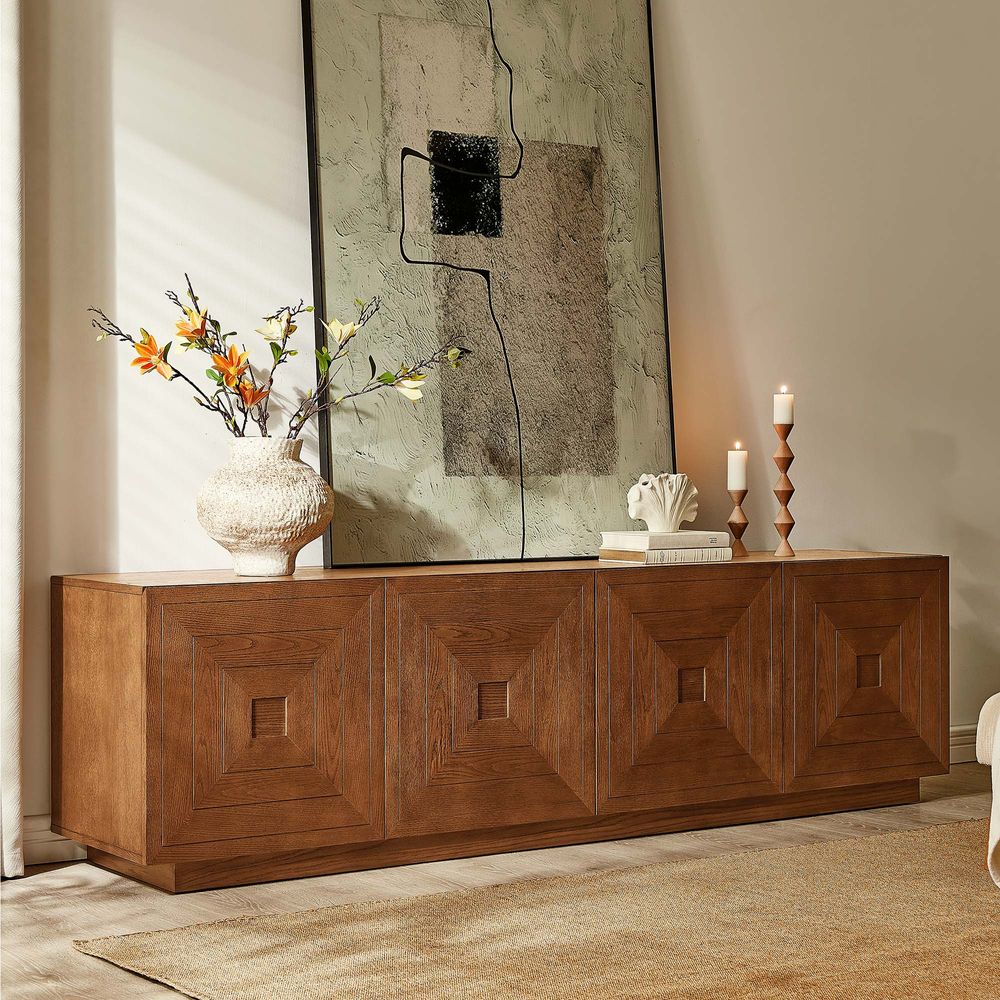
Kaisa 86-Inch Carving Media Console
View Product
Wood Media Console Materials and Designs: What to Consider for Maintenance
When choosing a wood media console, consider how its materials, finish, and surface details affect everyday cleaning. Smooth surfaces are generally easier to wipe down, while carved or fluted designs can collect dust in their grooves and require more attention. The type of wood construction also matters, as veneer and solid wood may need different care.
For example, a console with carved details may require more careful dusting than one with a flat front.
Kaisa 86-Inch Carving Media Console features American oak veneer over plywood and engineered wood, with a geometric carved pattern across the front. Dust can settle in the detailed areas, so use a soft brush or microfiber cloth to clean the grooves. Avoid abrasive scrubbing, which may damage the veneer or glazed finish.
A fluted design creates a similar cleaning consideration but with a different surface texture. The Marisol 84-Inch Oak Media Console combines American solid oak, engineered wood, and oak veneers, with solid oak fluting across the front. Use a soft brush to remove dust between the raised details, then wipe the surface gently with a microfiber cloth.
When comparing wood media consoles, look beyond the overall appearance. Consider the material composition, finish, and amount of surface detailing to find a design that fits both your room and your cleaning routine.

Marisol 84-Inch Oak Media Console
View Product
Final Thoughts
Fixing scratches on a wood media console starts with identifying the type and depth of the damage. Light surface marks may respond to compatible polish or repair markers, while deeper scratches may need wax or wood filler. The material and existing finish determine which products are safe to use.
Avoid aggressive sanding, untested solvents, and incompatible coatings, especially on veneer and lacquered surfaces. With suitable repair products and regular cleaning, many minor scratches can be made less noticeable and the console's finish can be maintained for longer.
FAQs
Does the walnut trick actually work on a wood media console?
Rubbing a walnut over a minor scratch may temporarily darken the exposed area, making it less noticeable. However, the result varies depending on the wood and finish. It will not repair damaged coatings or deep gouges, and it should be avoided in households with tree nut allergies.
How do I tell a finish scratch from a scratch in the wood?
Look at the color and depth of the mark and gently run a fingernail across it. If the nail glides over a dull line, it may be a surface scuff. If it catches and the scratch exposes pale wood, the damage may extend through the finish and into the wood.
Are wood repair markers safe on veneer?
Repair markers may be suitable for minor scratches on veneer, provided they are compatible with the existing finish. Test the color in an inconspicuous area first and avoid sanding the veneer to level the repair.
Can I use olive oil to get scratches out of a wood TV stand?
Olive oil is not a recommended furniture scratch repair product. It does not create a durable protective coating and may leave an oily residue that attracts dust or interferes with future repairs. Use a furniture product designed for the console's specific finish instead.
What fills a deep gouge better, a wax stick or wood filler?
Wax filler sticks are useful for narrow scratches and small cosmetic gaps. Stainable wood filler may be more suitable for wider gouges with missing material on solid wood. Choose according to the damage and surface material, and avoid sanding thin veneer.
How do I match the stain color for a scratch repair?
Test a stain pen or touch-up product on a hidden area first. Start with a lighter shade and add color gradually until it blends with the surrounding wood. Allow the product to dry before judging the final color.
Can scratches be removed from a lacquered media console?
Minor scratches may be concealed with a compatible lacquer touch-up product. However, high-gloss lacquer can be difficult to repair because differences in color and sheen remain visible. Extensive damage may require professional refinishing.
When should I call a professional instead of repairing it myself?
Consider professional help when the damage covers a large area, veneer is peeling or missing, the console has a valuable finish, or you cannot identify the existing coating. A professional can determine which repair method is suitable without risking further damage.
Can I remove scratches from a dark wood media console without refinishing it?
Minor scratches on a dark wood media console may be made less noticeable with a color-matched repair marker or compatible touch-up product. Deeper scratches that expose the underlying wood may need filler and color matching. If the protective finish is extensively damaged, professional refinishing may be necessary.