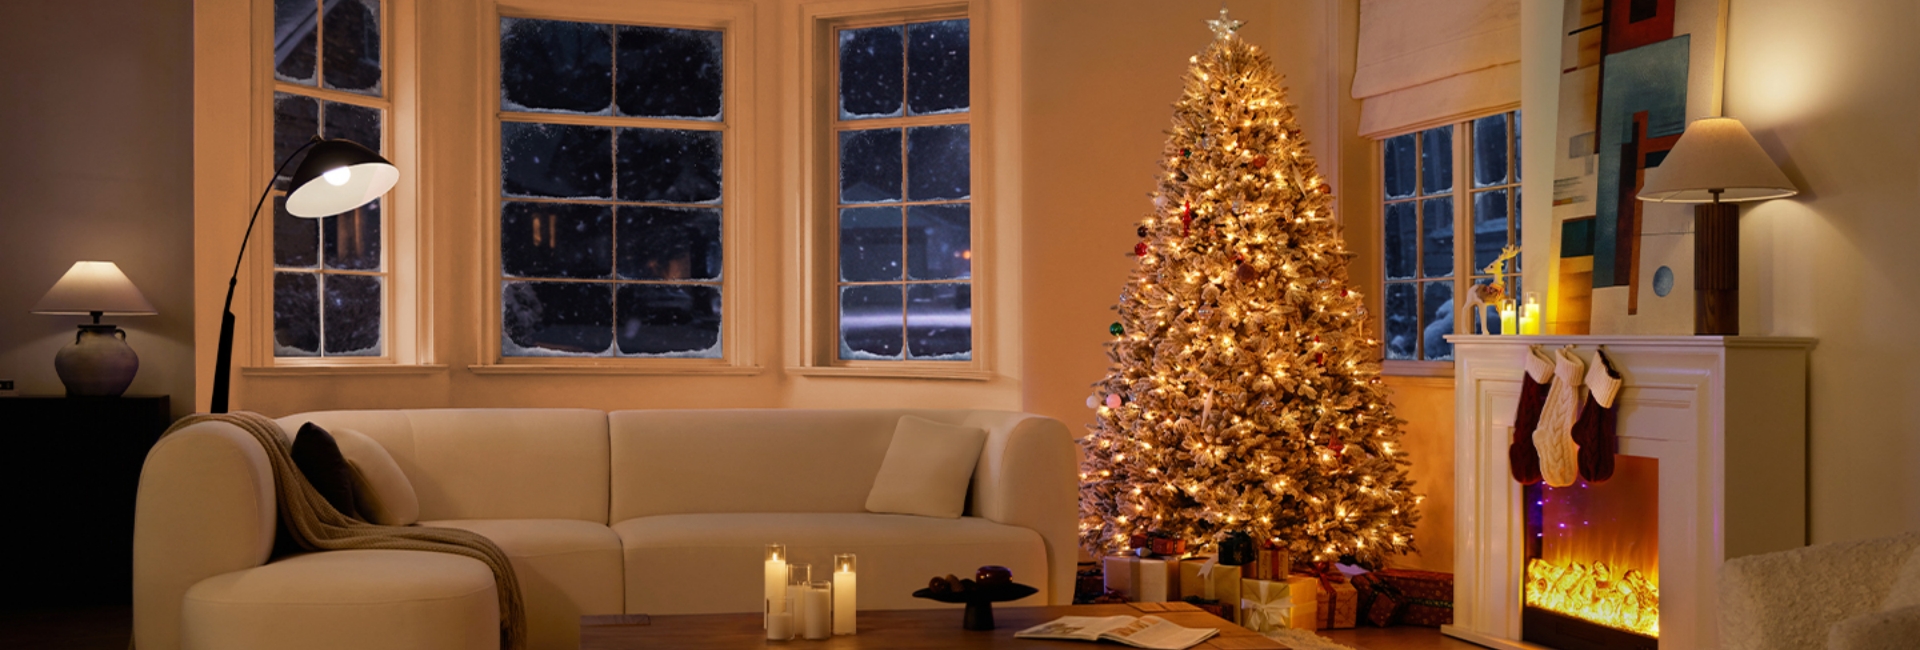
Setting up your holiday centerpiece should be effortless, magical, and stress-free. Welcome to the official step-by-step assembly guide for your Hernest Pre-Lit Christmas Tree. Designed for a quick and seamless setup—taking up to 20 minutes with two adults—this comprehensive guide walks you through every detail of bringing your tree to life. From unboxing and securing the sturdy base to branch-fluffing, and light cord alignment, follow these exact instructions to ensure your Hernest tree stands stable, looks exceptionally full, and glows brilliantly for the festive season.
Pre-Assembly Preparation & Checklist
Before starting, clear an adequate assembly space in your room. We recommend placing a protective pad or cardboard on the floor to prevent scratches.
Included Components & Hardware
Unpack all items from your Hernest packaging and verify that all parts are present:
1. Tree Sections:
Section A: Top Section
Section B: Middle Section
Section C: Bottom Section
2. Hardware & Accessories:
Base Screws (Part a): 3x
Base (Part b): 1x
Gloves (Part c): 1 pair
Storage Bag (Part f): 1x
3. Lighting & Controllers:
Light String Adapter (Part d): 1x
Remote Controller (Part e): 1x
Wand Controller (Part g): 1x
Important Safety & Pre-Installation Notes
Adult Assembly Required: Two adults are strongly recommended for smooth assembly. A ladder may be used to reach upper branches.
Child Safety: Keep small parts, plastic packaging bags, and batteries out of reach of children to prevent choking, suffocation, or internal chemical burn hazards.
Remove Protective Pole Caps: Before inserting tree sections, remove the protective caps on the ends of the section poles. (Note: Any minor shipping damage to these protective covers will not affect tree assembly).
Indoor Use Only: Do not place the tree in wet locations or near open flames, corrosive chemicals, or strong heat sources.
Step-by-Step Christmas Tree Installation Guide
Follow these steps in order to build a balanced, stable, and beautifully shaped Christmas tree.
Step 1: Base Setup & Bottom Section Assembly (Part C)
1. Unfold the Stand: Completely open all legs of the base (Part b) until it sits flat and evenly positioned on the floor.
2. Insert Section C: Lower the pole of the Bottom Section (Section C) into the central collar of the base.
3. Secure Base Screws: Thread the 3 Base Screws (Part a) into the base and tighten them firmly against the central pole.
4. Fluff Section C Completely:
Crucial Directive: Do NOT attach Section B or Section A until Section C is fully fluffed!
Put on the provided gloves (Part c).
Out of the box, branch tips are compressed toward the center pole. Gently pull and spread individual tips outward at different angles (like a blooming flower) to eliminate gaps.
Hand-shape the pinecones and pine needles for a natural, full appearance.
Pre-lit Wire Care: Handle branches carefully to avoid pulling or damaging the integrated light cords.
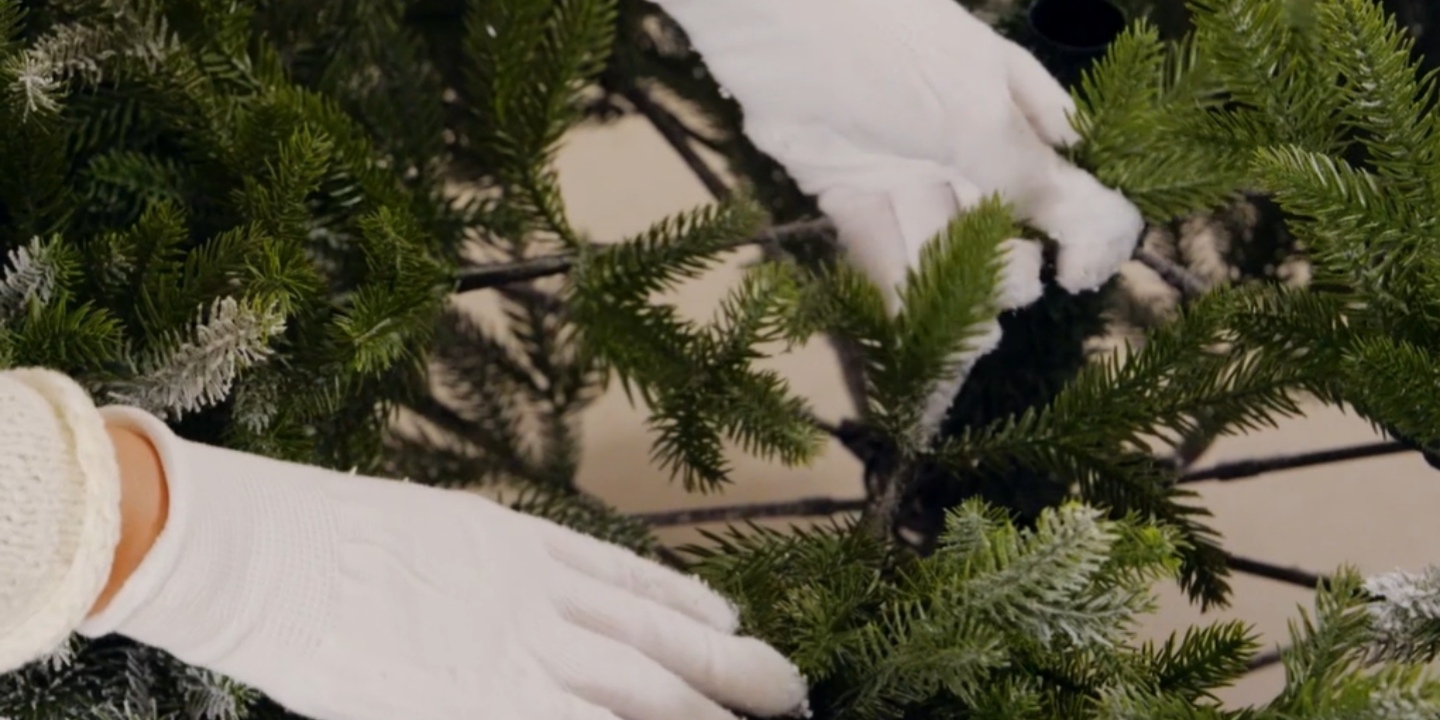
Step 2: Middle (Part B) & Top Section (Part A) Assembly
1. Attach Section B: Insert the Middle Section (Section B) into the top interface of Section C.
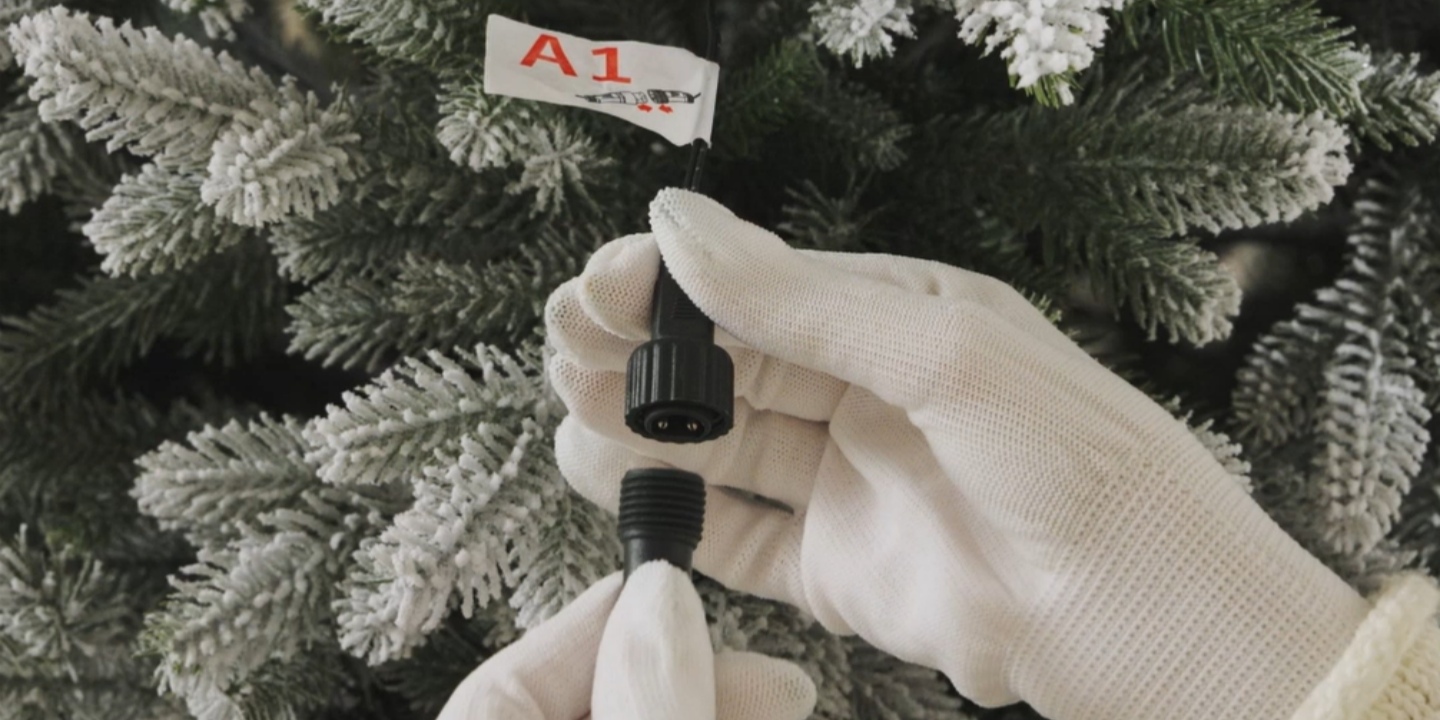
2. Align Light Connectors: During insertion, make sure all LED light cords and connectors align on the same side down the length of the tree in a straight line.
3. Fluff Section B: Do NOT attach Section A until Section B is fully fluffed using the branch-spreading technique.
4. Attach Section A: Insert the Top Section (Section A) into Section B.
5. Final Branch Adjustments: Spread the top branch tips outward. Step back and inspect the tree; adjust individual tips in any remaining sparse spots to achieve a full, seamless look.
Step 3: Connecting Lights & Power Setup
1. Connect Light to Light String Adapter: Connect the LED light connector from each section (Sections A, B, and C) to the corresponding branch connectors on the Light String Adapter(Part d).
2. Hide Wires & Position Receiver: Tuck light cords neatly along branches behind foliage. For optimal remote signal reception, position the LED Controller between Section B and Section C.
3. Plug In: Connect the main light string adapter to a standard wall outlet.
Operating Your Pre-Lit Tree Lights
Your tree offers three convenient ways to manage lighting effects:
1. LED Controller: Press the physical button on the led controller to manually toggle power ON and OFF.
2. Remote Control (Part e):
Pull out the battery tab before first use.
Point the remote directly at the LED Controller within an effective range of 13 feet.
Functions: Power ON/OFF, toggle between 6 solid colors (Red, Yellow, Green, Blue, Purple, Cyan), change lighting effect modes (RGB / CHASING), and adjust brightness up or down.
3. Wand Control (Part g):
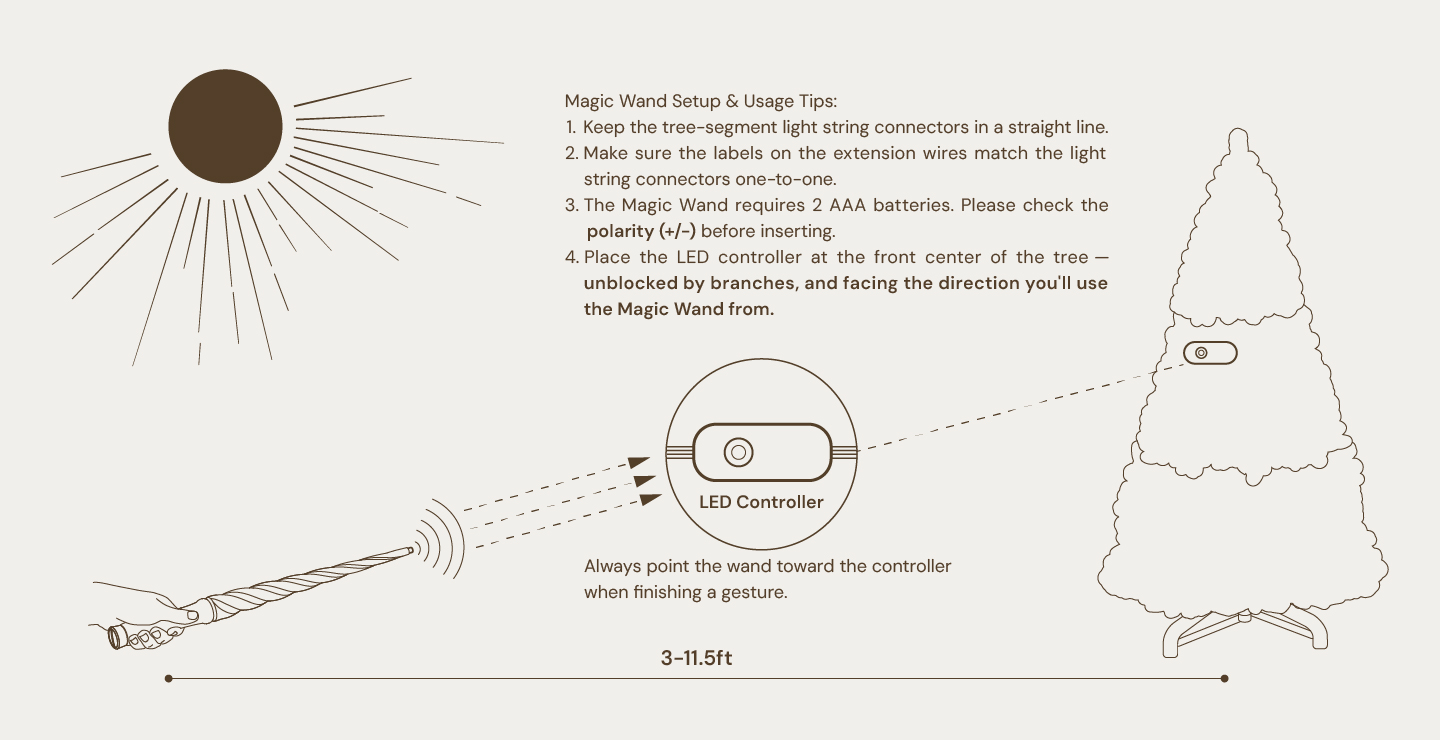
Battery Setup: Unscrew the base cap of the magic wand, insert 2 compatible batteries matching the correct (+/-) polarity, and tighten the cap clockwise securely using a coin.
Gesture Operation & Distance Range: Point and wave the magic wand directly toward the LED Controller from 3–13 feet away while maintaining a clear line of sight. In a bright environment, use the wand from 3–11.5 feet away. Perform the corresponding wand gestures to turn the lights on/off and switch lighting effects.
Magic Wand Troubleshooting
If a gesture doesn't work, check these basics before trying again:
Are the tree-section connectors straight?
Do the extension cord labels match the light-string connectors?
Are two AAA batteries installed with the correct + / − polarity?
Is the LED Controller at the front center of the tree and clear of branches?
Are you 3–13 feet from the controller—or 3–11.5 feet away in a bright environment?
Are you keeping the gesture inside the 10–20-inch area in front of you?
Are you finishing the gesture with the wand pointing toward the LED Controller?
If everything looks right, hold the wand still for about 0.5 seconds and try the gesture again. For more information on using the Magic Wand, check out our Magic Wand User Guide.
Disassembly, Cleaning, and Storage Guide
Proper care ensures your seasonal tree remains in pristine condition year after year:
1. Unplug & Clean: Turn off the power and disconnect the light string adapter. Separate each tree section by unplugging the LED light connectors and light string adapters. Remove all added decorations. Gently wipe the branches with a slightly damp cloth and let them air dry completely. Carefully organize and store the adapters and cables to prevent damage.
2. Disassemble Sections Top-to-Bottom: Carefully lift off Top Section (Section A), then Middle Section (Section B) in sequence. Handle gently to prevent wire strain.
3. Detach Bottom Section: Loosen the base securing screws (Part a) and lift Bottom Section (Section C) out of the base.
4. Fold Base & Store Hardware: Fully fold the base (Part b). Store all 3 base screws together in a small bag so they aren't misplaced.
5. Fold Branches & Pack: Raise all branches back to their original upright position toward the center pole. Pack the tree sections carefully into the provided Storage Bag and store in a cool, dry place away from heat and moisture.
Frequently Asked Questions
Why won't my pre-lit Christmas tree lights turn on?
Unlit lights are typically caused by a loose section connection or an unpowered switch. Inspect all light connectors between sections to ensure they are aligned correctly and securely tightened. Confirm the light string adapter is plugged into an active wall socket, and press the power switch on the remote control, magic wand, or inline LED controller.
How do I fix a sparse or uneven-looking tree?
A sparse appearance occurs when branch tips remain folded inward from shipping. Put on the included gloves and spread each branch tip outward at varied angles (like a blooming flower) to fill visible gaps. Hand-shape pinecones and needles. For best results, fluff each section completely from bottom to top before adding the next section above it.
What should I do if the tree sections do not fit together properly?
First, confirm you are installing the sections from bottom to top in the proper order (Section C into the base, then Section B, then Section A). Second, check that you removed the protective caps from the pole ends prior to assembly. Finally, inspect the pole interfaces and clear away any packaging residue or foreign objects obstructing the connection.
Why is my remote control or magic wand not responding?
Non-responsive controllers are usually due to battery placement or line-of-sight obstruction. Make sure you removed the battery pull tab from the remote control. For the magic wand, verify battery polarity and ensure the cap was tightened securely with a coin. Always point the controller directly at the inline LED controller from within the range.
How do I fix an unstable or wobbly tree base?
An unstable base is caused by unexpanded base or loose hardware. Ensure base are opened completely so they lie flat and balanced on the floor. Insert the bottom section firmly into the center stand tube, then fully tighten all three base screws against the pole.